User's Guide (Ivanti Secure Access Client for RHEL8 and 9 )
Index
- 1. Available platforms
- 2. How to change the password
- 3. Setting of Pulse Secure Client
- 4. How to login to SSL-VPN of J-PARC
- 5. How to logout
- 6. Compliance check
- 7. The length of time-out
1. Available platforms
Supported platforms of Ivanti Secure Access Client(application for connection)
| RPM Based | : | Red Hat Enterprise Linux 9 |
Requirement Software
- GUI environment
- Web browser : Any
- Pulse Secure Client
For the client environments that are enable to connect based on JLAN-support office identified and ones that manufacturer supports, visit here.
2. How to change the password
UserID and initial-password are sent you after the completion of your SSL-VPN application.
Please change the initial-password as soon as you received it.
Reminder
- You should register your new password before using the SSL-VPN because the Initial-password cannot use for login.
- The Initial-password has an expiration date. Your account will be locked if the password is not changed.
3. Setting of Ivanti Secure Access Client
3.1 Download software (Ivanti Secure Access Client)
Choose suitable one for using OS and download.
Version is 22.8 at present.
How to check using installed version of Pulse secure, go to "4.7 How to check the Pulse Secure Client version".
<Attention>
Linux version has no auto update function, which differed with Windows and macOS version.
Download and update with manual on a regular basis.
It will be updated every 6months excluding a case of emergency.
3.2 Installation of Ivanti Secure Access Client
Install the downloaded packages on the environment as below.
- Account that has administrator rights ("su" and "sudo" can be used)
- connecting to Internet
- Running with terminal software such as "Terminal" without using install tool of GUI
1. Enabling the EPEL repository(No need to do if you are already using it.)
-
RHEL8 dnf install https://dl.fedoraproject.org/pub/epel/epel-release-latest-8.noarch.rpm
RHEL9 dnf install https://dl.fedoraproject.org/pub/epel/epel-release-latest-9.noarch.rpm
※We cannot support problems caused by using the EPEL repository or installing it.
2. Installation of the downloaded packages
- RPM - based installation
rpm -ivh <package name>
The Installation Command:
- RPM - based installation
rpm -Uvh <package name>
The Upgrade Command:
※Installation of packages that have dependency
Follow the displayed message and install packages that have dependency.
Ex.)
error: Failed dependencies:
	libXScrnSaver is needed by pulsesecure-********.x86_64
	libbsd is needed by pulsesecure-********.x86_64
	nss-tools is needed by pulsesecure-********.x86_64
3. Disabling the EPEL repository ( Not required if you are using it.)
-
dnf remove epel-release
3.3 Setting of Ivanti Secure Access Client
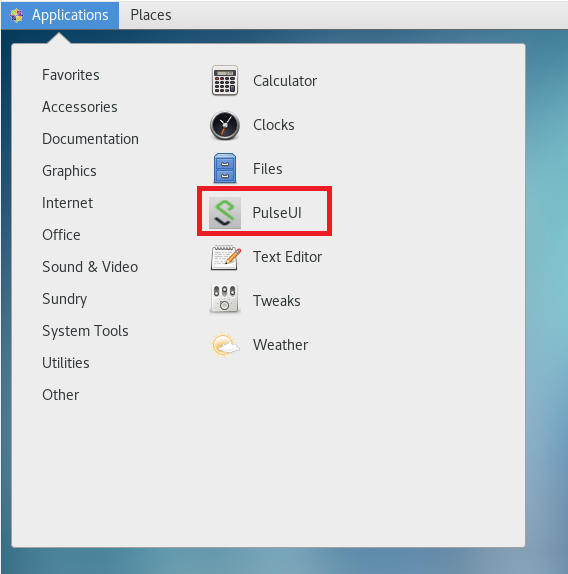
1 Start installed Ivanti Secure Access Client
File Location differs with different distribution, version and window manager of OS as below examples.
- On Red hat Enterprise Linux 9
Activeties > Show Applications > Ivanti Secure Access Client
2 Registration of Connection(at the time of first access)
Click "+" button on “Ivanti Secure Access Client” window.
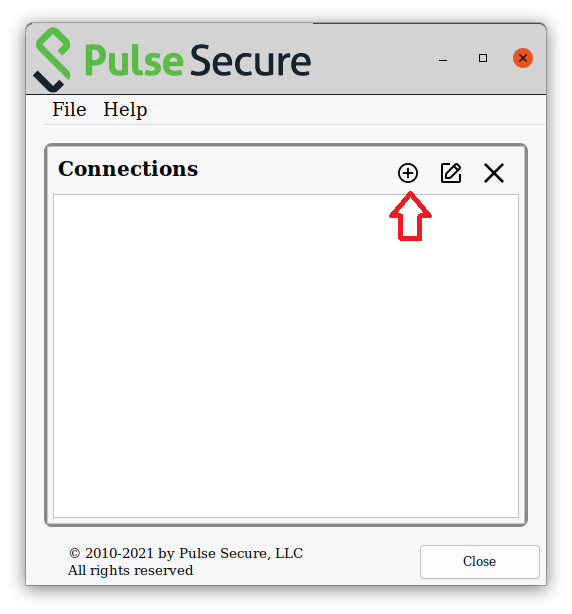
Enter Type, Name and Server URL as below.Then click "add" button.
| Type | : | Policy Secure (UAC) or Connect Secure (VPN) |
| Name | : | Any name as you like |
| URL | : | secgw.j-parc.jp |
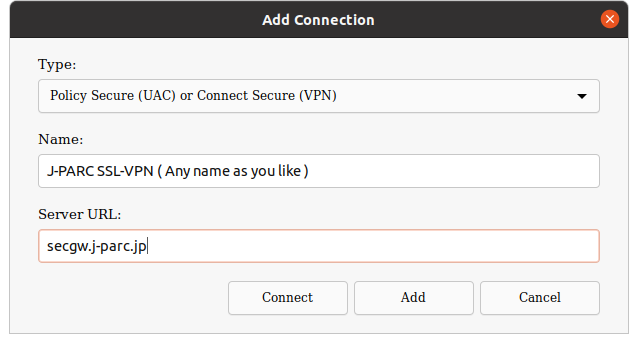
Presetting of Ivanti Secure Access Client is completed.
4. How to login to SSL-VPN of J-PARC
4.1 Start browser, and access to the certification site.
URL for SSL-VPN of J-PARC connection ( Accessible from JLAN, JAEA-LAN and KEK-LAN. )
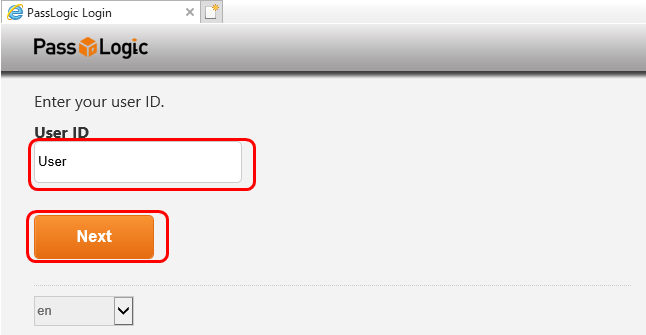
4.2 Input your "Login ID", and click the "Next" button.
4.3 A matrix screen is displayed but do not logging-in on this browser. Go to instruction 4.4
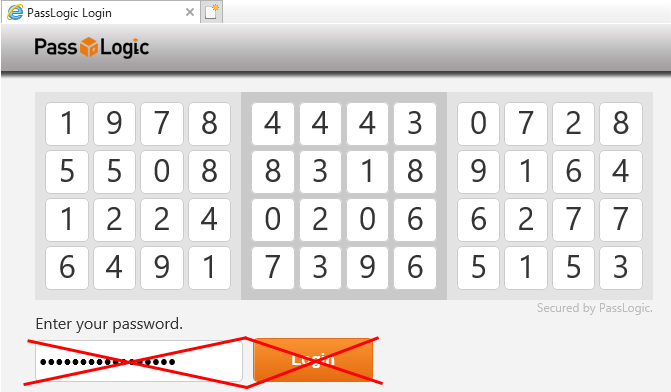
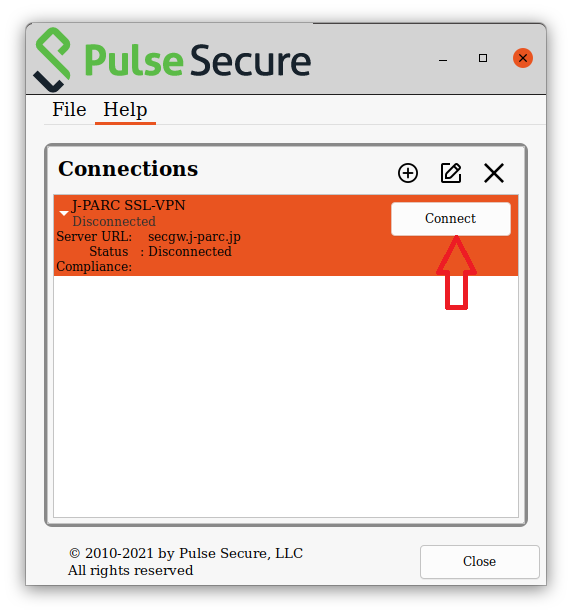
4.4 Click "Connect" button on "Connections" of Ivanti Secure Access Client.
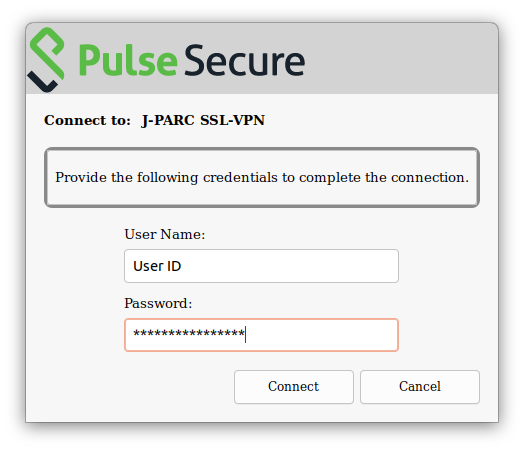
4.5 Enter ID for Username and Password on Ivanti Secure Access Client
Enter ID for Username and Password.
| Username | : | User ID |
| Password | : | PIN (fixed characters) and Image-password (location in the matrix) |
<Reminder>
- A matrix is effective for 5 minutes.
Reload the page, if 5 minutes or more passed after the matrix is displayed. - The account will be locked after 10 invalid password trials.
In the case, please contact to JLAN-support office.
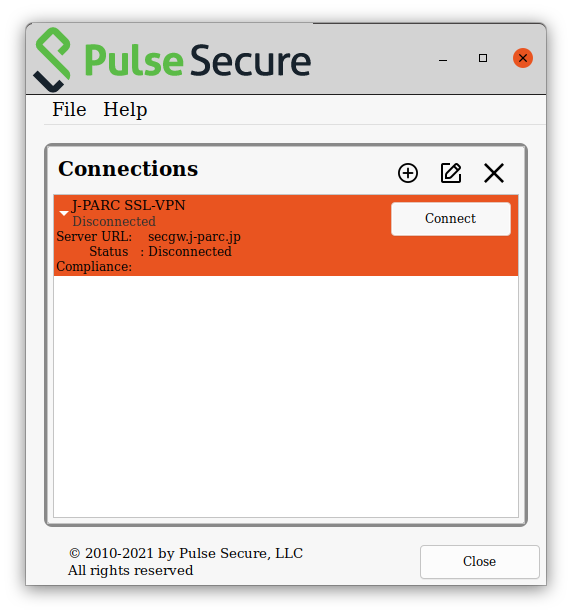
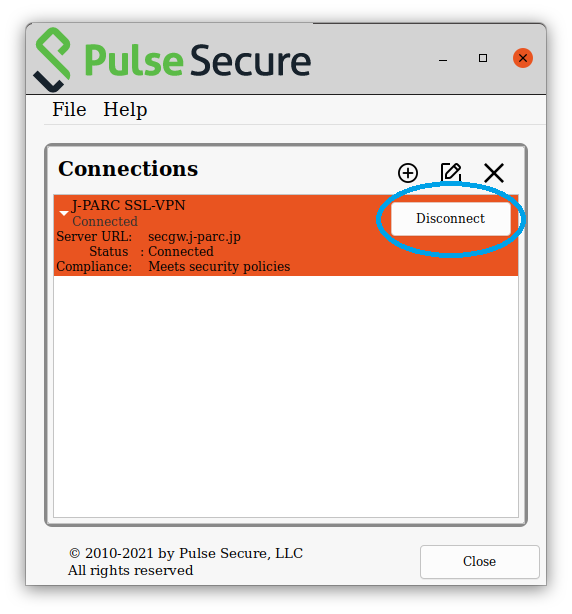
When the compliance check passed, it will be successfully connected.
And "Connect" button on "Connections" of Pulse Secure is changed to "Disconnect".
After connecting, close Web browser.
4.6 Confirmation for connection status
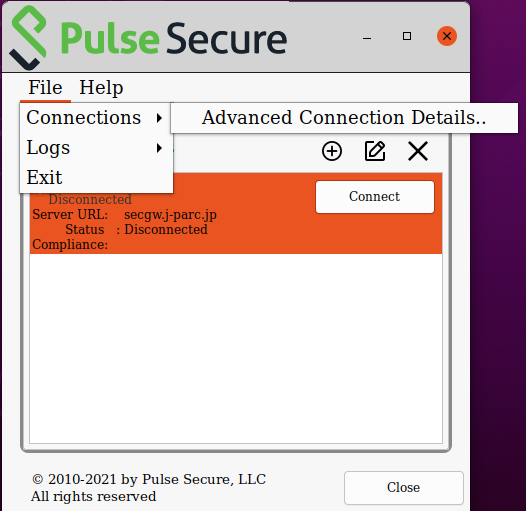
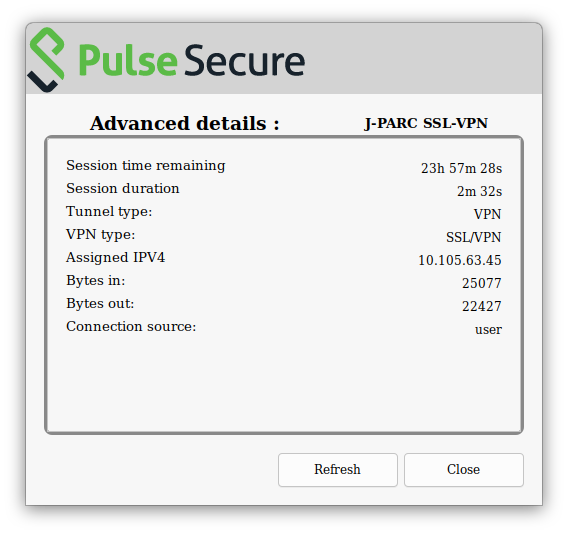
Confirm the IP address on the network and data transfer status details.
Choose "File > Connections > Advanced Connection Details"
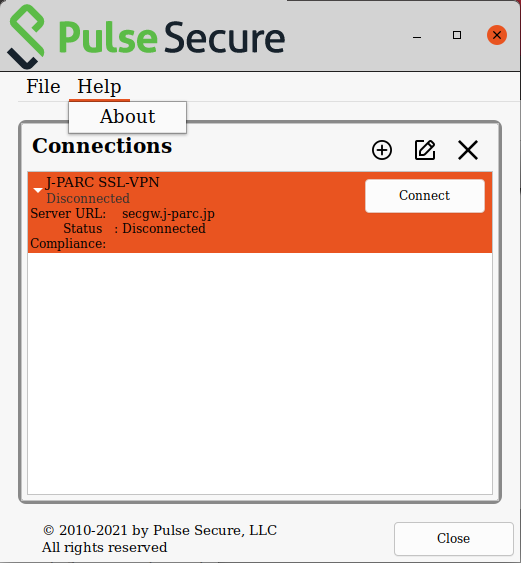
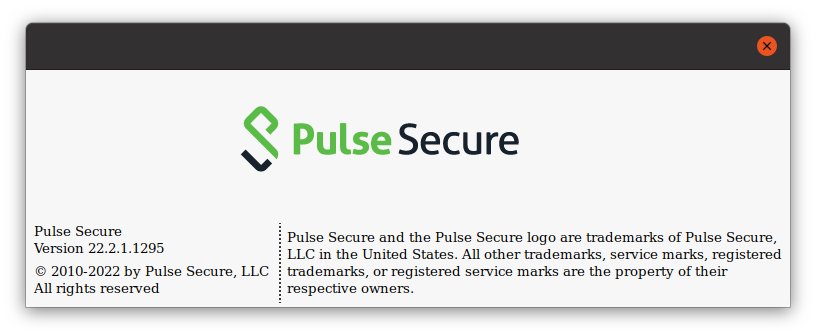
4.7 How to check the Ivanti Secure Access Client version
Click the "Help > About" button on the "Pulse Secure Client" window.
5. How to logout
Logout from "Pulse Secure Client" window.
Click the "Disconnect" button on the "Pulse Secure Client" window.
6. Compliance check
When you use your PC to connect to JLAN with SSL-VPN, your PC should be passed the compliance check executed by the VPN-system.
The check-list of the compliance check is the following;
6.1 OS
- OS should be updated to the latest.
- Applications should be installed most recent version.
6.2 Anti-virus software
- Install anti-virus software listed in "Supported anti-virus softwares" to your PC.
- The pattern file in your PC for the anti-virus software should be updated in 7 days.
- Real time protection is effective.
7. The length of time-out
- If your client PC does not transmit network packet to the VPN-system for 1 hour, the VPN connection will be interrupted automatically.
- The maximum session time of the VPN connection is 24 hours.